Aluminium with hidden fixings or profiled steel: comparison, ventilated facade, quantities and installation of metal...

Latest posts
-
 Metal facade cladding: aluminium or steel?Read more
-
 Metal roof flashings: ridge, verge, wall flashing and fillersRead more
Ridge, verge, wall flashing, filler, hip, fascia: what each metal roof flashing does, where it goes and how much to...
-
 Steel roofing sheets: choosing the profile, pitch and fittingRead more
Profiles 29C, 850+, 35C or 45C, pitch, condensation, overlaps and fixings: the guide to choosing and fitting a steel...
-
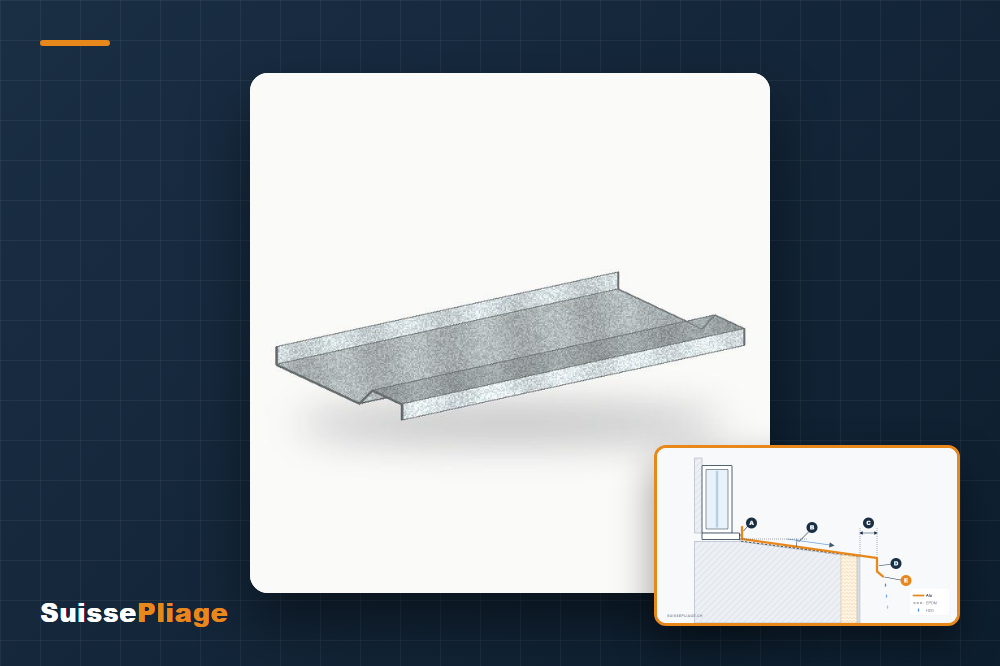 Aluminium window sill: measurements, slope and installationRead more
At least 5° of slope, a 30–50 mm projection, a drip edge and upstands: the complete guide to measuring, choosing and...
-
 DEV 33 half-round gutter accessories: installation guideRead more
Accessories for DEV 33 Ø 100 mm half-round gutters: fascia brackets, outlets, 90° angles, stop ends – selection and...
-
 DEV 33 half-round gutter and accessories: a complete guideRead more
Discover the complete range of half-round gutters developed by SuissePliage — brackets, outlets, downspouts, water...
-
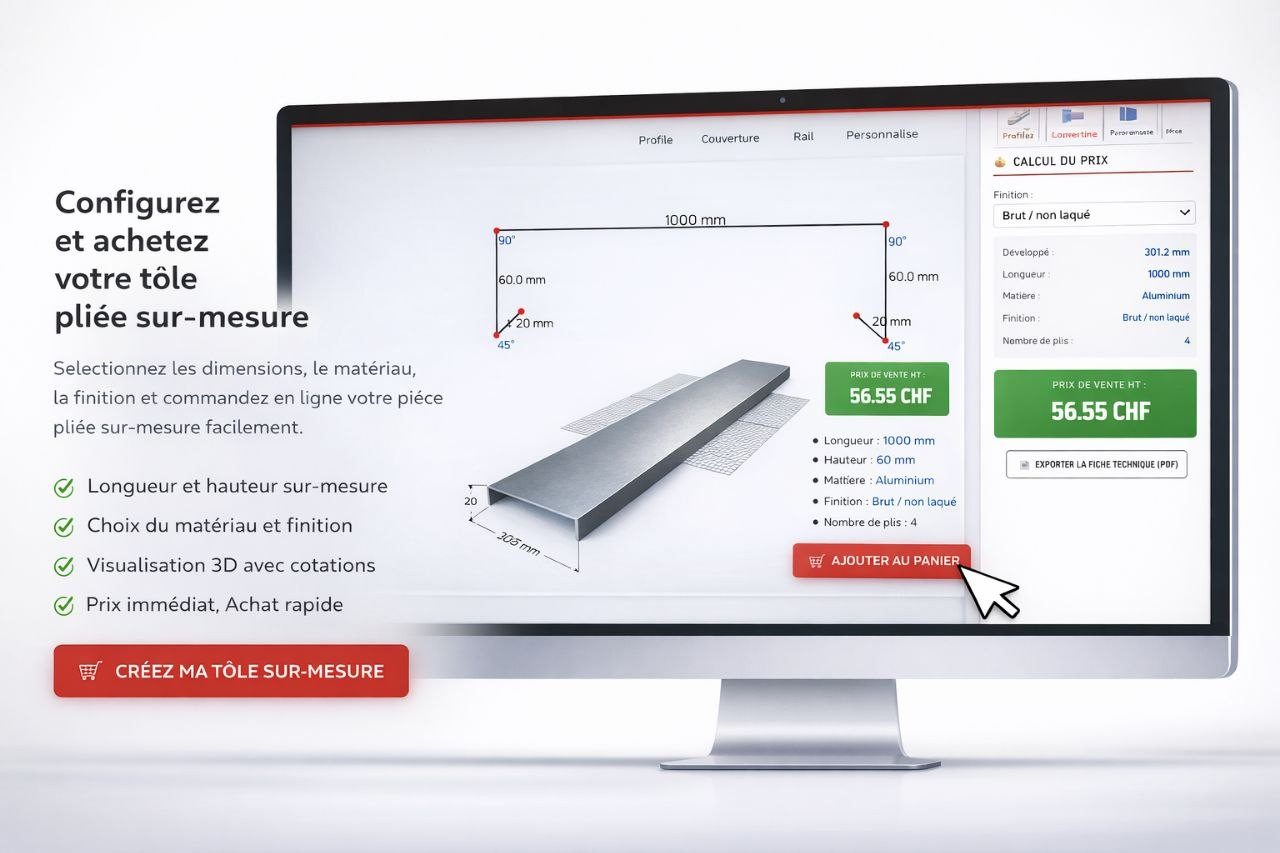 Order custom bent sheet metal onlineRead more
Find out how to order your custom bent sheet metal in 3 minutes with the SuissePliage configurator: 20 profiles,...
-
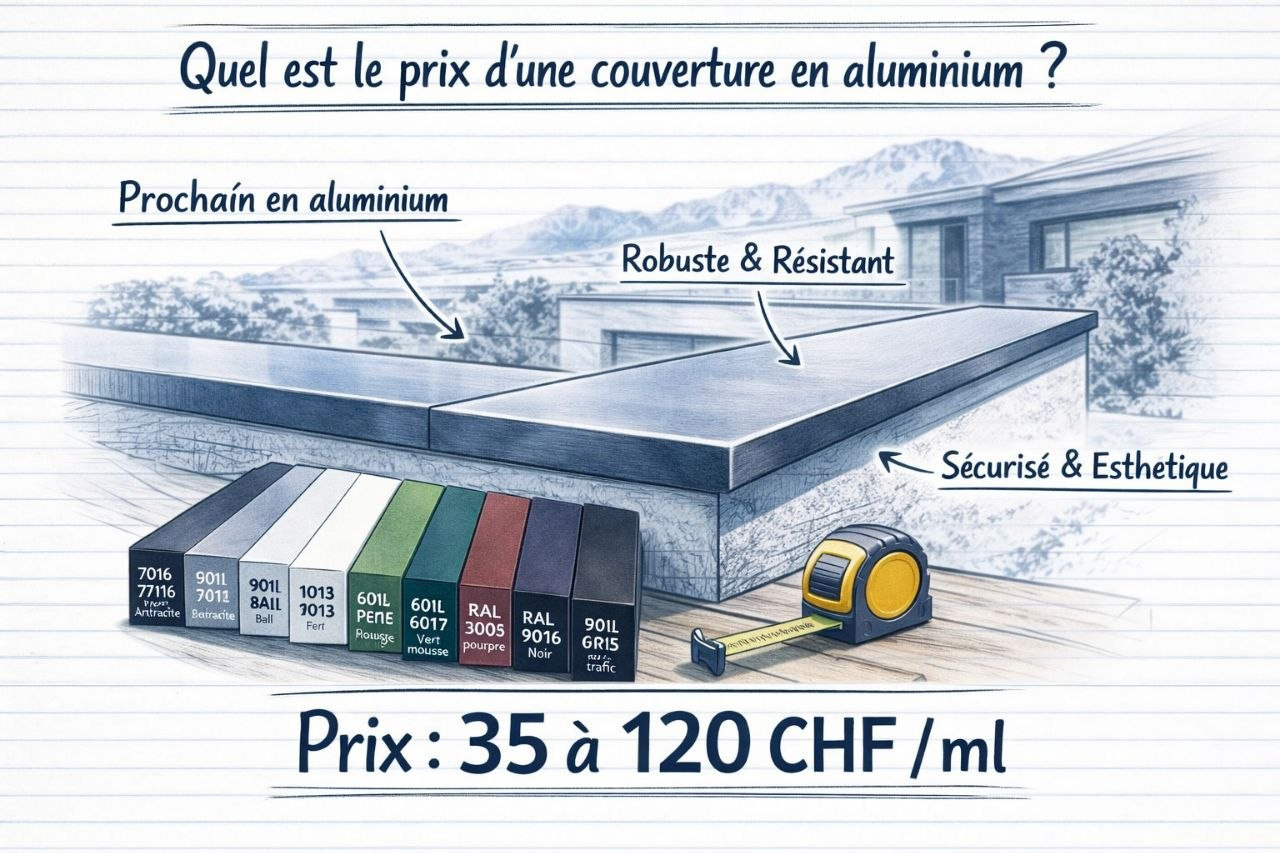 What is the price of an aluminium coping in Switzerland?Read more
What is the price of aluminum coping in Switzerland in 2026? Ranging from CHF 35 to 120 per linear meter depending on...
-
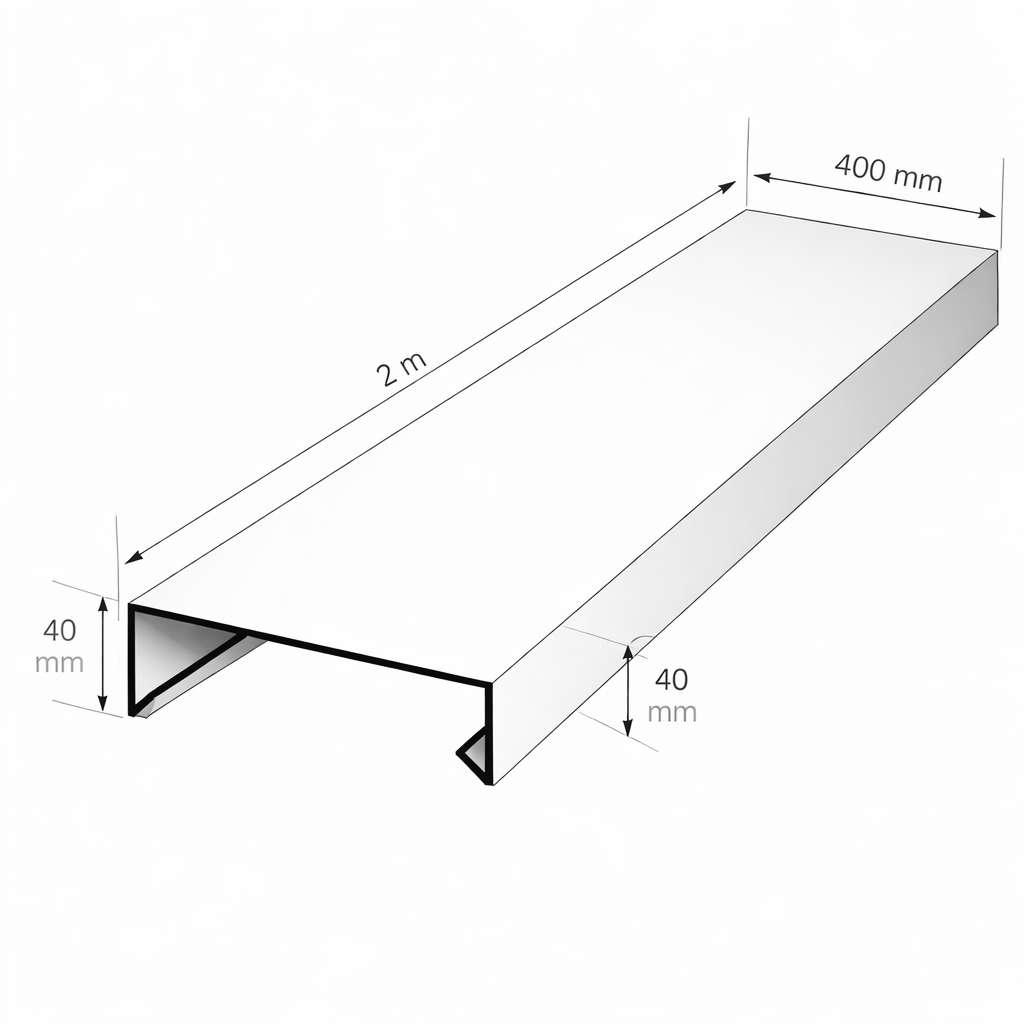 How to Choose the Right Coping Width for Your Parapet?Read more
Series 150, 200, 250, 300 mm... How to choose the right coping width? This guide explains everything in 5 minutes.
Aluminium window sill: measurements, slope and installation
Sheet metal guide 2026
External window sill in aluminium
measurements, slope and installation
measurements, slope and installation
An external window sill – also called a sill flashing or sill cover – is more than a finishing touch. It carries rainwater away from the window and the facade. If it is sized wrongly, water stands on it, seeps under the frame or runs down the render. This guide gives you reference values, a measuring method and the installation steps, whether you order a standard sill or a made-to-measure part.
✅
The short answer
A good aluminium window sill has a slope of at least 5° (about 9 %), projects 30 to 50 mm beyond the finished facade, ends with a drip edge, turns up at the back under the window frame and at the sides against the reveals, and rests on a solid bed – with no screws at all through its top face.
Sill, sill flashing, sill cover: what are we talking about?
All three terms mean the same part: the folded sheet metal fitted outside, below the window, between the window frame and the face of the facade. Homeowners usually say «window sill»; roofers and sheet metal workers often say «sill flashing».
It does three jobs:
- Drains water running off the glazing to the outside, thanks to its slope.
- Protects the facade: water drips clear of the render instead of running down it and leaving dark streaks.
- Closes the junction between window, wall and insulation – often the weak point of a facade.
Anatomy of a window sill: the 5 elements that matter
In cross-section, a folded window sill reads as five segments. That is exactly how you draw it in a sheet metal configurator: one segment after another.
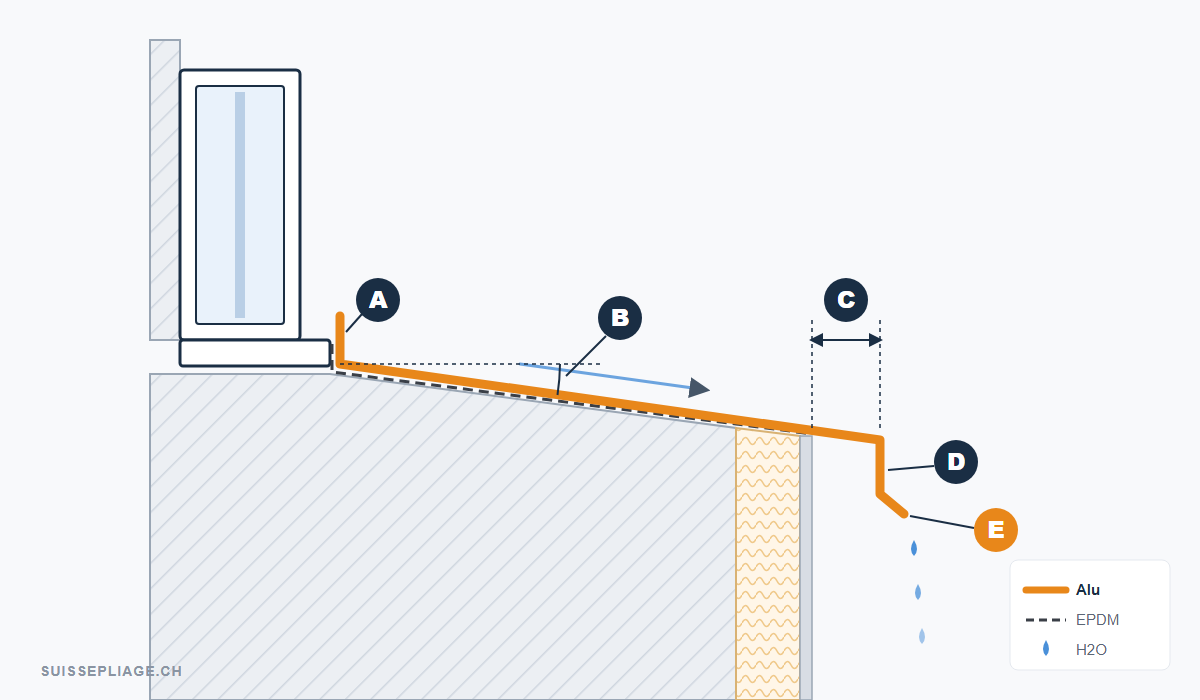
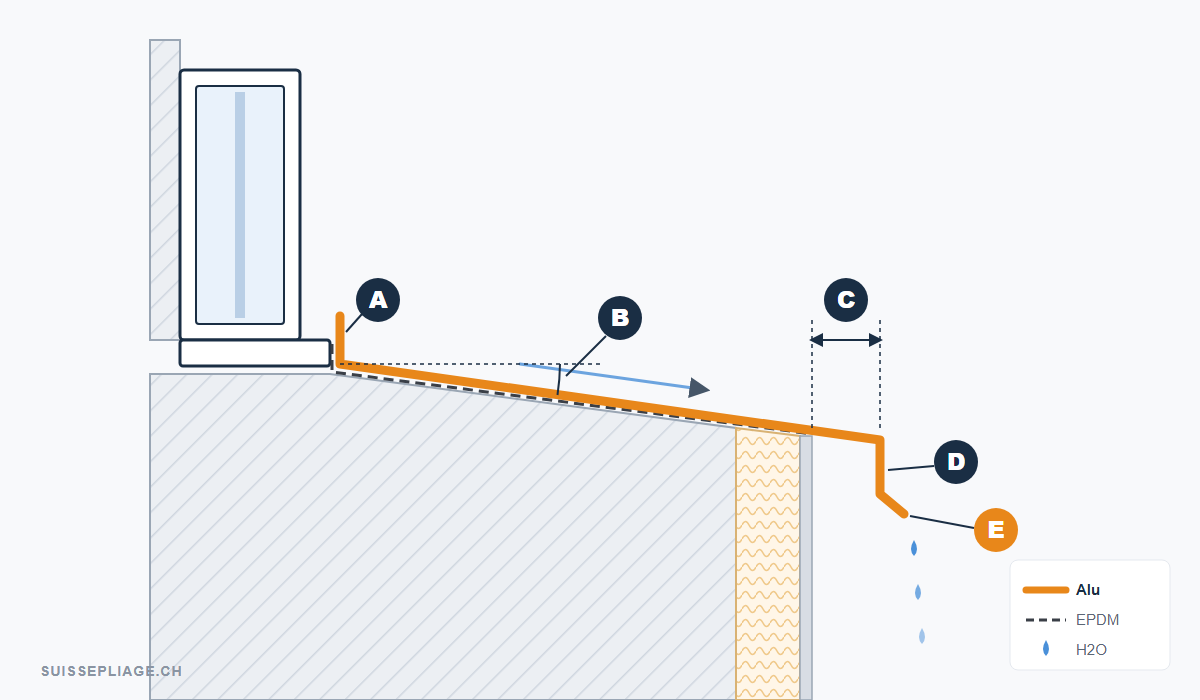
Cross-section of a folded window sill: A rear upstand, B slope, C projection beyond the finished facade, D front drop, E drip edge. Dashed: the membrane laid underneath.
Rear upstand
The edge that turns up against the window frame. It stops wind-driven water from getting under the frame.
Sloped top
The visible surface. Its slope sends water outwards instead of letting it stand.
Projection
The part that sticks out beyond the finished facade. The further it throws water, the cleaner the render stays.
Front drop
The vertical fold at the front. It stiffens the sill and covers the top of the facade.
Drip edge
The small final fold outwards. It forces water to fall instead of running back under the sill.
Side upstands
The sides that turn up against the reveals, folded or fitted with end caps, sealed with a flexible joint.
Slope, projection, drip edge: the reference values
These are the values generally used in sheet metal work for an external window sill. They are a starting point for sizing your part.
| Element | Usual value | Why |
|---|---|---|
| A Rear upstand | 20 to 30 mm | Barrier against wind-driven water |
| B Slope | at least 5° (≈ 9 %), ideally 8 to 10° | Water drains without standing or freezing |
| C Projection | 30 to 50 mm beyond the finished facade | Water drips well clear of the render |
| D Front drop | 25 to 40 mm | Stiffness and a clean facade finish |
| E Drip edge | 10 to 15 mm fold outwards | Breaks the water film under the sill |
| F Side upstands | 20 to 30 mm + flexible joint | Sealing at the reveals, thermal movement |
!
Check on your site
These are values from practice, not a standard. If your architect, window supplier or facade system manufacturer specifies a particular detail, that detail takes precedence. On an externally insulated facade, the projection is always measured from the finished surface of the insulation and render, not from the bare wall.
How to measure
Most sills that do not fit come from a measurement taken too early, before the insulation or render, or from a single width measurement. Follow this order:
1
The width, at three points
Measure from reveal to reveal at the back, in the middle and at the front. Reveals are rarely perfectly parallel: take the smallest value, then allow for the side upstands and the play of the flexible joint, a few millimetres each side.
2
The depth
Measure from the window frame to the face of the finished facade, insulation and render included, then add the projection you want (C). That gives the width of the sloped top.
3
The slope of the substrate
Lay a straightedge and a spirit level (a smartphone app is enough) on the substrate, or measure the height difference between back and front. If the slope is too shallow, correct it in the substrate rather than faking it in the metal.
4
Upstand and front drop heights
Note the height available under the window frame for the rear upstand (A) and the front drop you want (D). Check that no shutter, blind or guide rail is in the way.
5
Group identical windows
Number each window and group those with the same dimensions. You then order batches of identical sills, which are simpler to manufacture and install.
For how to dimension a folded part (outside dimensions, angles), see our guide Dimensioning folded sheet metal segments.
Which metal and which thickness?
Aluminium is by far the most requested material for window sills: light, rust-free and available in RAL colours matching the windows. But it is not the only option.
| Material | When to choose it | Good to know |
|---|---|---|
| Powder-coated / pre-painted RAL aluminium | The usual choice, matching the window | Keep it away from fresh mortar or cement |
| Mill-finish or anodised aluminium | Contemporary facade, metal look | Light, durable, maintenance-free |
| Galvanised steel | Technical buildings, tight budget | Robust, more industrial look |
| Zinc | Traditional facade or roof | Natural patina; no copper above it |
| Stainless steel | Aggressive environment, lakeside, road salt | Maximum corrosion resistance |
| Copper | Character buildings, heritage renovation | Never place it above another metal |
Thickness. For a narrow, well-supported sill, 1 mm is usually enough. Go to 1.5 mm for a deep sill, a very exposed one or one likely to take knocks (flower pots, ladders, cleaning). 2 mm is for technical parts. Our guide What sheet thickness for a folded part? explains these choices in detail.
⚠
Watch out for mixed metals
Water running off copper attacks zinc, galvanised steel and aluminium below it. Keep the same metal family across the whole junction and use stainless steel screws. More in Metal characteristics and, for colours, in our RAL colour chart.
Installation, step by step
In new build or renovation the logic is the same: a sound, sloped substrate, a membrane underneath and a sheet that is free to move.
1
Prepare a solid, sloped bed
The sill must be supported over its whole surface: masonry, a wedge or rigid insulation cut to the slope. A sill laid over a void sounds hollow, deforms and drums in the rain.
2
Lay the membrane underneath
A membrane (EPDM or a suitable sheet) under the sill acts as a second line of defence. It turns up behind the rear upstand and at the sides. This matters most on an externally insulated facade.
3
Dry-fit the sill
Place the sill without fixing it. Check the slope, the projection beyond the finished facade and the side clearance before any fixing.
4
Fix it without drilling the top
Fix the sill through its rear upstand against the window frame and bond it in beads to the substrate with a suitable adhesive sealant. No screws through the sloped top: every hole lets water in.
5
Finish the sides and allow for movement
Fit the end caps or side upstands and close with a flexible joint. Aluminium expands by about 2 mm per metre between a winter morning and a sunny summer afternoon: a sill locked rigidly between two reveals will buckle over time.
In renovation: covering an old stone or concrete sill
This is a very common request: the original sill is cracked, porous or stained, and nobody wants to break it out. The answer is a made-to-measure sill cover, a folded sheet that covers the top and the nose of the old sill. Measure the depth and the height of the existing nose, and allow a projection of 20 to 30 mm beyond it, with a drip edge. The cover is bonded to a clean, dry substrate – again with no holes through the top face.
Standard or made-to-measure sill?
The standard sill
Ready-to-order profile in 2 m lengths, cut to size on site. Ideal for windows of common sizes. See the standard window sill
The made-to-measure sill
Depth, slope, upstands, drip edge and colour exactly to your dimensions. Essential in renovation, on insulated facades or for a batch of identical sills.
The configurator
Draw your sill segment by segment, see it in 3D and get the price in CHF immediately. Any out-of-range dimension is flagged before you order.
To decide, our guide Standard or custom folded part? covers the most common cases. And if your sill has an unusual shape, you can also send us a sketch.
✅
Made in Switzerland
SuissePliage window sills are folded in our workshop in Switzerland, in aluminium, galvanised steel, zinc, stainless steel or copper, and delivered throughout Switzerland. Permitted deviations are described on our manufacturing tolerances page.
Draw your window sill
Free dimensions, 3D preview and instant CHF price.
→ See all standard finishing profiles
Frequently asked questions
Q
What slope does an external window sill need?
Aim for at least 5°, about 9 %, and ideally 8 to 10°. Below that, water stands on the sill, dirties the metal and can freeze in winter.
Q
How far should a window sill project beyond the facade?
Usually 30 to 50 mm beyond the finished facade, insulation and render included, with a drip edge at the front. Too short a projection lets water run down the render and leave streaks.
Q
What is the drip edge on a window sill for?
This small outward fold at the bottom of the front drop breaks the water film. Water falls off instead of creeping back under the sill by capillary action and running down the facade.
Q
What aluminium thickness for a window sill?
1 mm usually suits a narrow, well-supported sill. Choose 1.5 mm for a deep sill, a very exposed one or one likely to take knocks. 2 mm is for technical parts.
Q
Can you cover an old stone or concrete window sill?
Yes, with a made-to-measure folded sheet cover that wraps the top and nose of the old sill and extends beyond it with a drip edge. It is bonded to a clean, dry substrate, without drilling the top face.
Q
Standard or made-to-measure window sill: which to choose?
The 2 m standard sill, cut to length, suits windows of common sizes. Made-to-measure is the way to go when depth, slope, upstands or colour are specific, in renovation or on an insulated facade.
Posted in:
Guides & Tips
Related posts
-
How to Choose the Right Coping Width for Your Parapet?
Series 150, 200, 250, 300 mm... How to choose the right coping width? This guide explains everything in 5 minutes.Read more
-
What is the price of an aluminium coping in Switzerland?
What is the price of aluminum coping in Switzerland in 2026? Ranging from CHF 35 to 120 per linear meter depending on...Read more
-
Order custom bent sheet metal online
Find out how to order your custom bent sheet metal in 3 minutes with the SuissePliage configurator: 20 profiles,...Read more
-
DEV 33 half-round gutter and accessories: a complete guide
Discover the complete range of half-round gutters developed by SuissePliage — brackets, outlets, downspouts, water...Read more
-
DEV 33 half-round gutter accessories: installation guide
Accessories for DEV 33 Ø 100 mm half-round gutters: fascia brackets, outlets, 90° angles, stop ends – selection and...Read more
Leave a comment